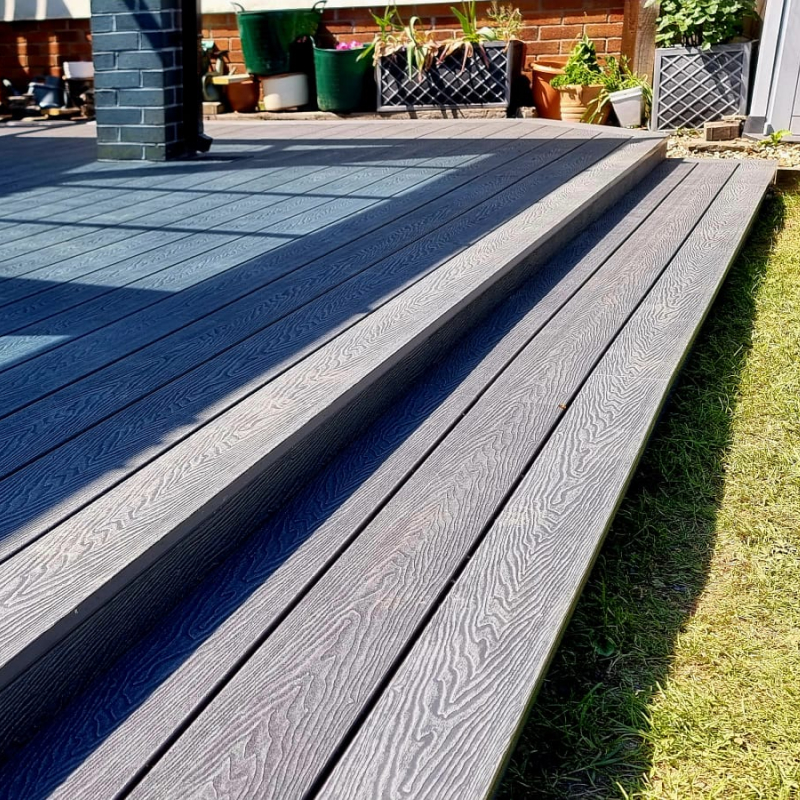
Composite decking has quickly become the preferred option for homeowners seeking a low-maintenance, durable, and stylish outdoor space. It’s a high-demand service for builders and a fulfilling weekend project for DIY enthusiasts.
However, it’s important to understand that composite boards behave differently from traditional timber, particularly with regard to thermal expansion. If you want to learn how to install composite decking so that it looks great and lasts for decades, follow this straightforward guide.
1. Prepare Your Subframe
Before installing composite decking boards, you need a sturdy foundation. You can use treated timber joists or a composite subframe system.
- Spacing is Key: Ensure your joists are spaced no more than 300-400mm apart (always check the manufacturer’s specifications). Composite boards lack the structural rigidity of wood, so they require ample support to prevent sagging.
- Airflow: Ensure adequate ventilation under the deck to prevent moisture build-up.
2. Plan for Expansion
One of the most common mistakes when installing composite decking is neglecting the fact that the boards expand and contract with temperature changes.
- End-to-End Gaps: Always leave a gap of 3-5mm between the ends of the boards.
- Side-by-Side Gaps: Most hidden fastening systems automatically set the side gap, but it’s important to double-check the manual.
3. Install the Starter Clips
Begin at the edge of your deck that is against the house and where you intend to build out from. (or wherever your first board will sit).
- Fasten Starter Clips: Attach the “Starter Clips” to the joists.
- Secure the First Board: Push the first board into these clips until it’s locked in place. This ensures your first row is perfectly straight and secure without the need to screw through the top of the board.
4. Fit the Composite Decking Boards
Most modern composite boards utilise a “hidden fastener” system, with clips that fit into grooves on the sides of the boards.
- Insert the Clip: Once your first board is in place, slide the hidden fasteners into the groove along the side where the board meets the joist.
- Screw Down the Clip: Secure the clip into the joist, taking care not to over-tighten. The clip should hold the board firmly while allowing for slight movement.
- Install the Next Board: Slide the next board into the clips you just installed. If necessary, use a rubber mallet to tap it into place gently.
- Repeat the Process: Continue this method across the entire deck.
5. Install Composite Decking Edging (Fascia)
To give your project a professional finish, you’ll want to cover the exposed ends of the boards and the subframe.
- Fascia Boards: These are thinner boards that attach to the side of the rim joist.
- Corner Trims: Use L-shaped trim pieces to conceal the seams where the deck surface meets the fascia. This detail can enhance the appearance of your DIY project, making it look like a professional installation.
6. Pro Tips for a Better Finish
- Check for Square: Periodically measure from the house to both ends of your current board to ensure you’re not “wandering” and that the deck remains straight.
- Use the Right Blade: Utilise a fine-toothed carbide-tipped saw blade for clean, melt-free cuts on your composite boards.
- Mind the Temperature: If possible, install the boards during mild weather. Installing on the hottest day may cause the gaps you leave to be smaller than intended.
Need More Project Advice?
Learning how to lay composite decking is just the beginning of enhancing your home’s exterior. For additional tips on home improvement, roofing, and outdoor living, be sure to check our blog page.
Whether you’re a professional builder or a weekend DIYer, paying attention to the details will ensure that your deck looks as good in ten years as it does on the day you finish.