
Guarantee on All Products

Collection and Delivery Options

Open Monday to Friday 8-4pm
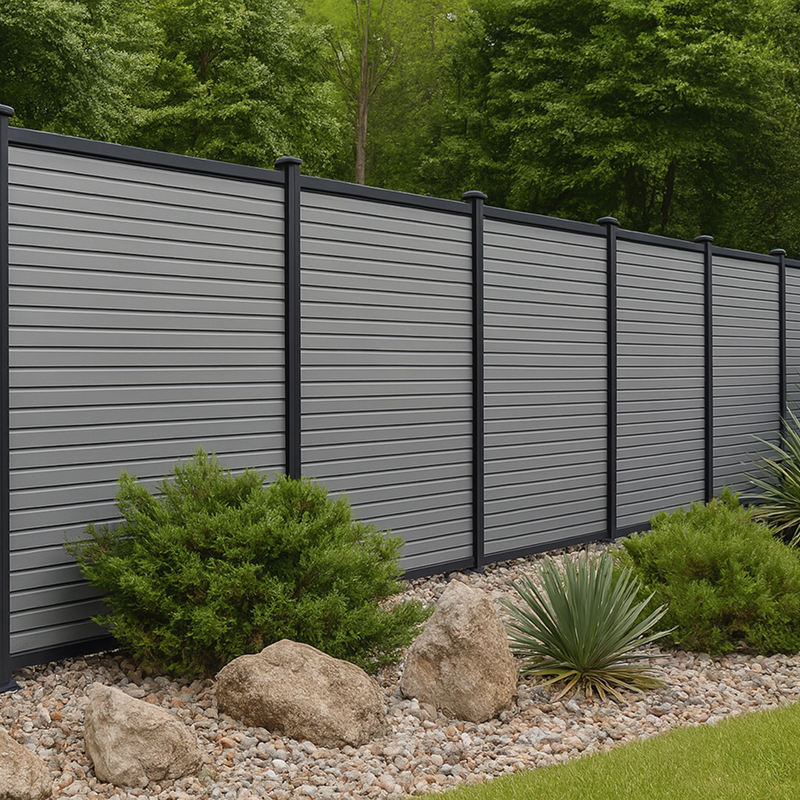
If you’re tired of spending every spring painting, staining, or replacing rotting timber panels, it’s time to consider composite fencing. It’s becoming a popular choice for homeowners in the UK because it resembles wood but withstands the British weather exceptionally well.
Whether you’re a landscaper looking for a quick installation or a DIY enthusiast tackling a weekend project, here’s everything you need to know about how to fit composite fencing and what to expect regarding your budget.
Composite fencing is made from a combination of recycled wood fibres and plastic. The result is a fence that won’t rot, warp, or splinter. Most systems utilise a “tongue and groove” method, where boards fit together, making the installation process surprisingly quick.
Before you begin digging, it’s essential to understand the costs involved. A common question is: how does the cost of composite fencing compare to traditional wood?
Precision is crucial here. Since composite boards are a fixed length, your posts must be perfectly spaced. Mark your layout using a string line, dig your holes (usually 600mm deep), and set your first post in Postcrete.
Pro Tip: Use a spacer bar or a fence board to ensure the distance to the next post is accurate before pouring the concrete.
Most composite fencing systems use an aluminium bottom rail, which sits between the posts and provides a level, sturdy base for the boards. Ensure the rail is perfectly level; if it isn’t, the entire fence could appear crooked.
This is the straightforward part. Once your posts are set and the bottom rail is in place, simply slide the boards down the channels in the posts. The tongue of the board should face upwards, and the groove of the next board sits over the tongue of the one below. Gently tap them down with a rubber mallet to secure a tight fit.
Like composite decking, fencing expands and contracts with temperature changes. Leave a small gap; do not jam the boards tight against the inside of the posts. Allow a few millimetres on either side (inside the post channel) to let the material “breathe” as it heats up in the sun.
Once you’ve reached your desired height, slide the aluminium top rail over the final board. This frame secures the panel in place. Finish by screwing or clipping the post caps into position. If using LED post-cap lights, now is the time to wire them up or attach them.
Now that you know how to install composite fencing, the benefits are evident:
At LB Roof Windows, we’re dedicated to helping you improve your space, from the roof down to the garden fence. Whether you’re a tradesman or a DIY enthusiast, having the right materials and advice makes all the difference.