
Guarantee on All Products

Collection and Delivery Options

Open Monday to Friday 8-4pm
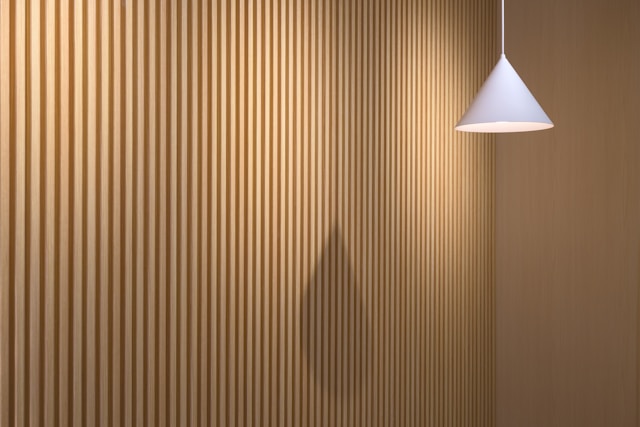
Improving a room’s sound quality doesn’t have to mean compromising on style. Modern acoustic wall panels, like the Zest Acoustic Panel range available here at LB Supplies, are designed to combine high-end aesthetics with professional-grade sound absorption.
Whether you are looking to create a home cinema, reduce echo in a large living area, or build a peaceful home office, knowing how to fit acoustic panels correctly is the key to a professional finish. In this guide, we’ll walk you through the process, covering everything from preparation to the final screw.
Before we dive into how to fit acoustic wall panels, it’s worth understanding the benefits. Unlike traditional flat wall coverings, acoustic slat panels feature a felt backing and wooden slats that break up sound waves, significantly reducing “flutter echo” and noise reverberation.
In the UK, installing acoustic wall panels is a top trend for 2024 and beyond, as they offer an easy way to add texture and warmth to a room while making it a much more comfortable space to live in.
To achieve the best results, ensure you have the following tools ready:
Before you start, check that your wall is dry, clean, and free of any protruding nails or screws. If you are fitting the panels in a newly renovated room, ensure the plaster is fully dry.
Top Tip: We recommend letting your panels acclimate to the room for 48 hours before installation. This prevents any minimal expansion or contraction once they are on the wall.

Standard panels, like the Zest 2600mm panels, are designed to fit most floor-to-ceiling heights in the UK. However, you may need to trim them to fit perfectly.

There are two main ways to install your panels: using adhesive or screws.
If you want a seamless look without any visible fixings, adhesive is the best route.
For a more permanent or heavy-duty installation, especially when fitting panels to a ceiling, we recommend using screws.
One of the best things about the Zest range is the interlocking design. The felt on one side usually extends past the slats, allowing the next panel to slot in perfectly and hide any joins.
If you need to fit panels around plug sockets or light switches:
Whether you choose to glue or screw, the process of fitting acoustic panels is straightforward enough for most DIY enthusiasts. By following these steps, you’ll not only transform the look of your room but also create an acoustic environment that feels professional and serene.
Ready to start your project? Explore our full range of Acoustic Panels, or contact LB Supplies for further advice to find the perfect finish for your home.