
Guarantee on All Products

Collection and Delivery Options

Open Monday to Friday 8-4pm
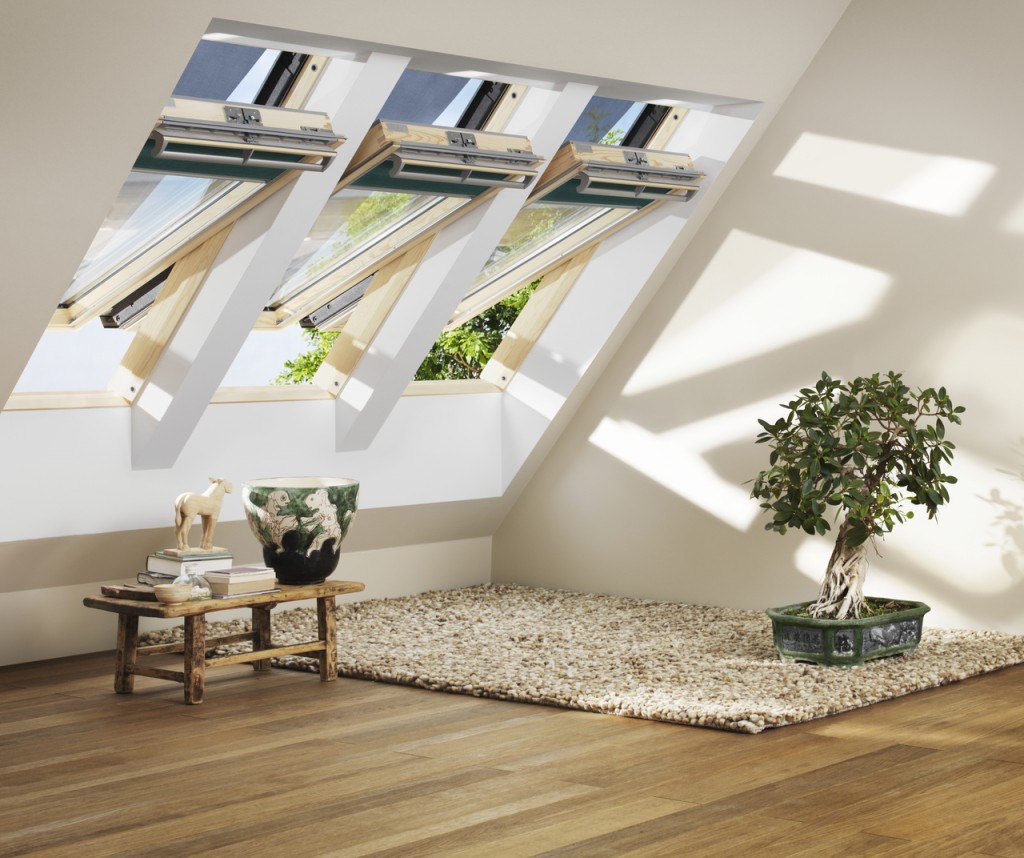
Are you looking to transform a dark, cramped attic into a bright, airy living space? Installing a roof window is one of the most effective ways to add natural light and ventilation to your home. When it comes to quality and reliability, Velux windows are the industry gold standard.
However, for many homeowners and DIY enthusiasts, the prospect of window installation can feel daunting. In this guide, we’ll walk you through the essential steps of installing a Velux window, ensuring your project is a success and completely watertight.
Before we dive into the installation process, it’s important to understand why Velux is the preferred choice. They offer a range of solutions, from classic centre-pivot models to moisture-resistant white polyurethane finishes, which are ideal for kitchens and bathrooms. Velux windows are suitable for any roof pitch, typically ranging from 15° to 90°.
Successful window installation starts with the right tools. Before you head up the ladder, make sure you have:
The first step in fitting the window is to prepare the aperture. You’ll need to remove the roof tiles or slates from the area where the window will be installed.
Top Tip: Make the opening roughly 40–60mm wider than the window frame to allow for easy adjustment and insulation.
Cut back the roofing felt and battens, then install a bottom support batten and a top header batten to support the new frame.
Carefully unbox the window. To make the installation safer and easier, remove the “sash” (the glass part that opens) from the frame.
Open the window and locate the circular buttons on the hinges. Press these buttons to release the sash and set it aside in a safe place.
Attach the metal fixing brackets to the window frame. The placement of these brackets depends on whether you are using a standard or recessed installation height.
Lower the frame into the structural opening. Secure the bottom brackets first, then use a spirit level to ensure the frame is perfectly square before securing the top.
This step is critical for a successful installation. The flashing kit acts as a drainage system, directing rainwater away from the window.
Install the bottom apron first, moulding it to the shape of your tiles. Work your way up the sides with the side flashings, then install the top hood.
Reminder: Always ensure your Velux windows are fitted with a genuine Velux flashing kit to maintain your 10-year guarantee.
Once the flashing is secure, replace the roof tiles around the window. You may need an angle grinder to trim the tiles for a snug fit. Finally, slot the sash back into the hinges until you hear a click.
While many choose the DIY route, Velux window installation requires precision. If you’re unsure, always consult a professional.
At LB Roof Windows, we supply a vast range of Velux products, including windows, essential flashing kits, and blinds. Browse our collection today and take the first step toward a brighter home!